Today on the homestead, we set out to make cheese curd using goat milk we draw every morning and afternoon from our Alpine/Nubian nannies.
Ingredients:
- 1/4 tsp Mesophilic A Cheese Culture
- 1/2 tsp Calcium Chloride Liquid (30%) prepared
- 1/2 tsp Rennet (microbial) dissolved in 1/4 cup distilled water
- 2 tsp Flaked Salt
- 1 Gallon Milk
Combine 1 Gallon Goat Milk and 1/2 tsp Calcium Chloride Liquid in the stock pot. Heat the milk to 86°F then turn off the heat.
Sprinkle the 1/4 tsp Mesophilic A Cheese Culture starter onto the milk surface and let it hydrate for 2 minutes. Then, gently mix culture into milk using an up and down motion. Cover pot and allow the milk to ripen for 45 minutes.
You must be able to maintain a fixed temperature during the ripening phase. You must avoid hot and cold spots inside the cheese pot for the duration of the ripening period. The milk should be kept still. The best method of holding a constant temperature is to place the cheese pot into a water bath of the desired temperature.
Add 1/2 tsp Rennet (microbial) dissolved in 1/4 cup distilled water and gently mix using an up and down motion. Cover pot and allow the milk to set for 30 – 45 minutes. Check the gel for a clean break.
When the gel shows a clean break cut it into ½ inch cubes.
Gently begin stirring the cut curd, cutting any larger pieces into smaller ones. Apply heat in order to slowly bring the temperature to 100°F over a period of 30 minutes while gently stirring the whole time. Avoid heating too quickly. If the temperature rises too fast remove the cheese pot from the heat for a few minutes. Resume gently heating and stirring.
It is more difficult to cut uniform pieces in a small batch of cheese. Do not risk over stirring the curd looking for large pieces. The cheese will be fine.
After reaching 100°F, hold this temperature for another 30 minutes. Stir every 5 minutes to keep the curds from matting. Placing the pot of curds into a water bath at 100°F will help maintain the temperature.
After 30 minutes, check the curds for matting. If they mat when gently squeezed in your hand and then separate easily using your fingers, you are ready to drain the whey. Scoop out the warm curds using a strainer or your clean hands and place them into a colander in the sink. After removing all of the curds, place the colander on top of the warm whey, and put the lid on the pot. Allow the curds to mat (cheddar) for 10 minutes.
In traditional cheddar cheese making the process of cheddaring is used. Cheddaring involves allowing the drained curds to knit together forming a solid mass. The solid mass is then sliced into slabs. The slabs are stacked and flipped over a period of two hours. The process aids in the development of a firmer cheese.
The curds should now be one solid slab in the bottom of the colander. Cut the slab in half, place one half on top of the other. Cover the pot and allow the curds to cheddar for 10 minutes.
Flip the slab of curd over. Cover and allow it to cheddar for another 10 minutes. Continue flipping and covering every 10 minutes for a total of one hour.
Remove the slab from the colander and place it on a cutting board. Mill the curd slab by cutting it into pieces 1/2″ x 1/2″ x 2″ long. Toss the milled pieces with 2 teaspoons of flaked salt.
Milling is the process of cutting up large cheese curds into uniform pieces. When the word mill is used, instead of ‘cut’ or ‘break up’, the implication is that the sizing and shape must be more precise.
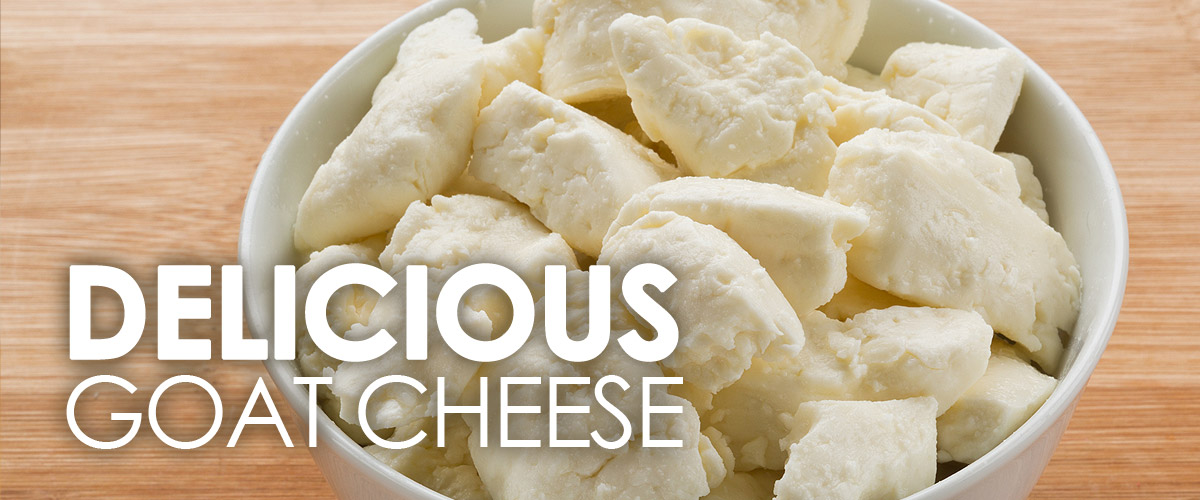
Place the curd in a zip top bag for storage. The curds will keep in the refrigerator for up to one week; however, the squeak is strongest right after they are made.